How to use OS finding aids
All of our catalogued finding aids to Ordnance Survey (OS) aerial photography of Scotland are now available on our website. This feature explains how to use them to locate and identify aerial photography of your area of interest.
|
1. Zoom to your Area of Interest
Browse by Map to your general area of interest and click on 'See finding aids in this area'.
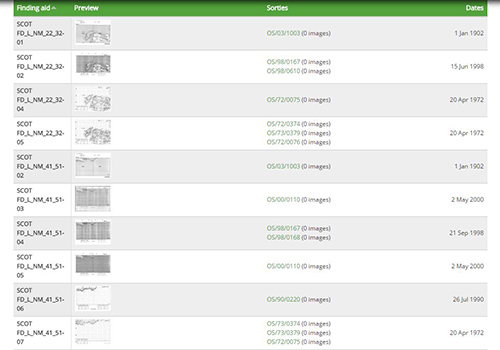
A page of search results will display the finding aids covering your selected area on specific dates, and a list of the sorties shown on those finding aids.
With a website subscription, you can examine these in detail to find cover of your precise area of interest.
|
 |
|
2. Select a Finding Aid
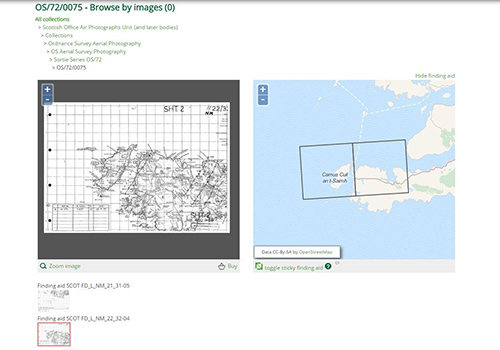
Right-click on a sortie of interest and select 'Open link in new tab'. A new tab will open, displaying our record for the selected sortie. Since sorties often cover large areas, thumbnails for several finding aids may be shown on this page.
When you click on a finding aid thumbnail, the location map on the right hand side of the page will show the general area covered. To view the finding aid for your area of interest, click on 'Zoom image'.
|
 |
|
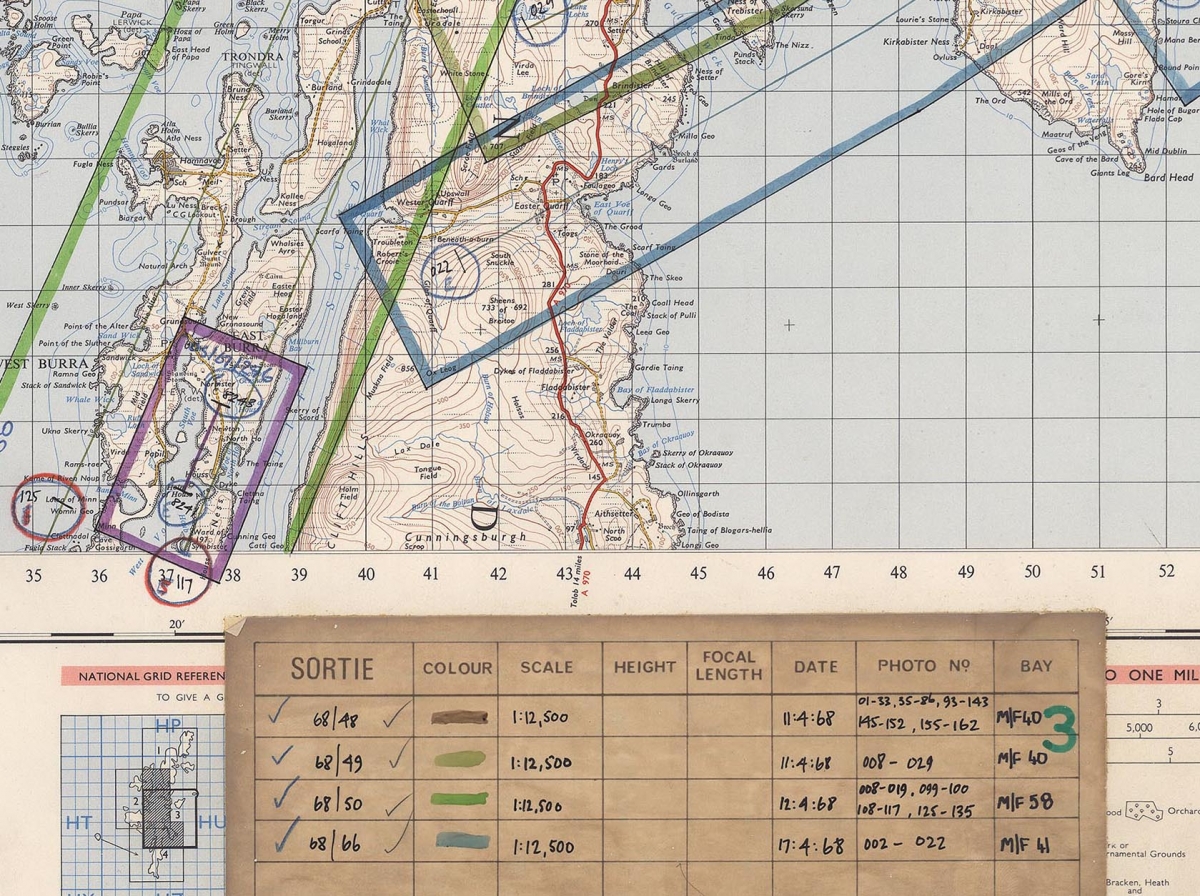
3. Finding Aid Formats
Ordnance Survey finding aids come in two formats
|
 |
|
4. Identify a Photograph
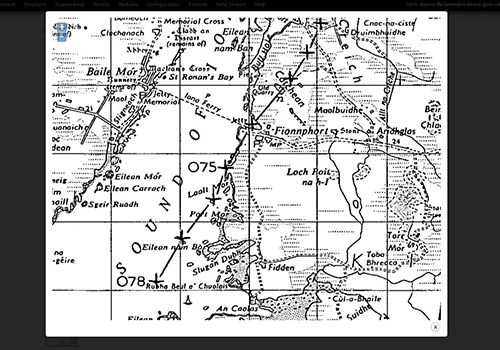
Zoom and pan the finding aid until you find your area of interest. The flight lines of the survey aircraft are shown by a series of straight lines drawn across the map. Numbered crosses or symbols along those lines show the centre point of each photograph taken. Take note of any numbered crosses or symbols falling on or near your area of interest - these are the frame numbers of individual photographs.
|
 |
|
5. Identify a Film
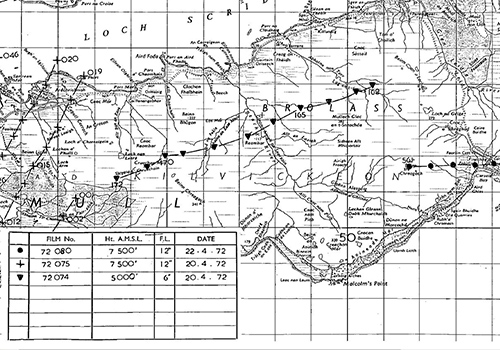
Since several flights, all flown on different dates, will appear on the finding aid, it is important to know the details of the specific flight on which your selected photograph was taken. Pan to the data box in the corner of the finding aid, where each flight is listed along with its corresponding symbol or colour. Take a note of the relevant film reference.
Also listed in this box are the dates each survey flight was undertaken, along with the mean altitude of the aircraft above sea level and the focal length of the camera lens used during the flight.
|
 |
|
6. Heights, Focal Lengths and Scales
Photo scale depends on the altitude of the aircraft and the focal length of the camera lens. OS aerial photography was usually taken with cameras of 6-inches (153mm) or 12-inches (306mm) focal length.
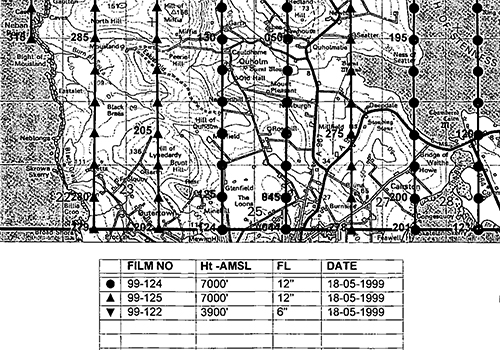
Where the data box records the focal length (FL) as 12-inches, the photo scale reciprocal has the same value as the Height. So, a photograph taken with a focal length of 12-inches from an altitude of 7,000 feet has a nominal scale of 1:7000.
Where the data box records the focal length as 6-inches, the photo scale reciprocal has the same value as double the height. So, a photograph taken from an altitude of 7,000 feet with a focal length of 6-inches would have a nominal scale of 1:14000.
|
 |
|
7. No cover of your Area of Interest
If the finding aid you have selected shows no photography of your area of interest, close the tab and return to the initial page of search results. Select the next sortie on the list and repeat the process.
Once you have looked at all of the relevant finding aids, you have completed your search.
|
Now that you have the film and frame numbers you require, you are ready to order copies. See our price-list for options.
Open the Image Order Form and type or paste your film and frame numbers into the 'Order' box. Complete the form and click 'Submit Enquiry'. We will reply by email within two working days with a quotation for the supply of the images.
Contains OS data: Ordnance Survey licence number 100020548. All rights reserved. © Copyright and database right 2015
